
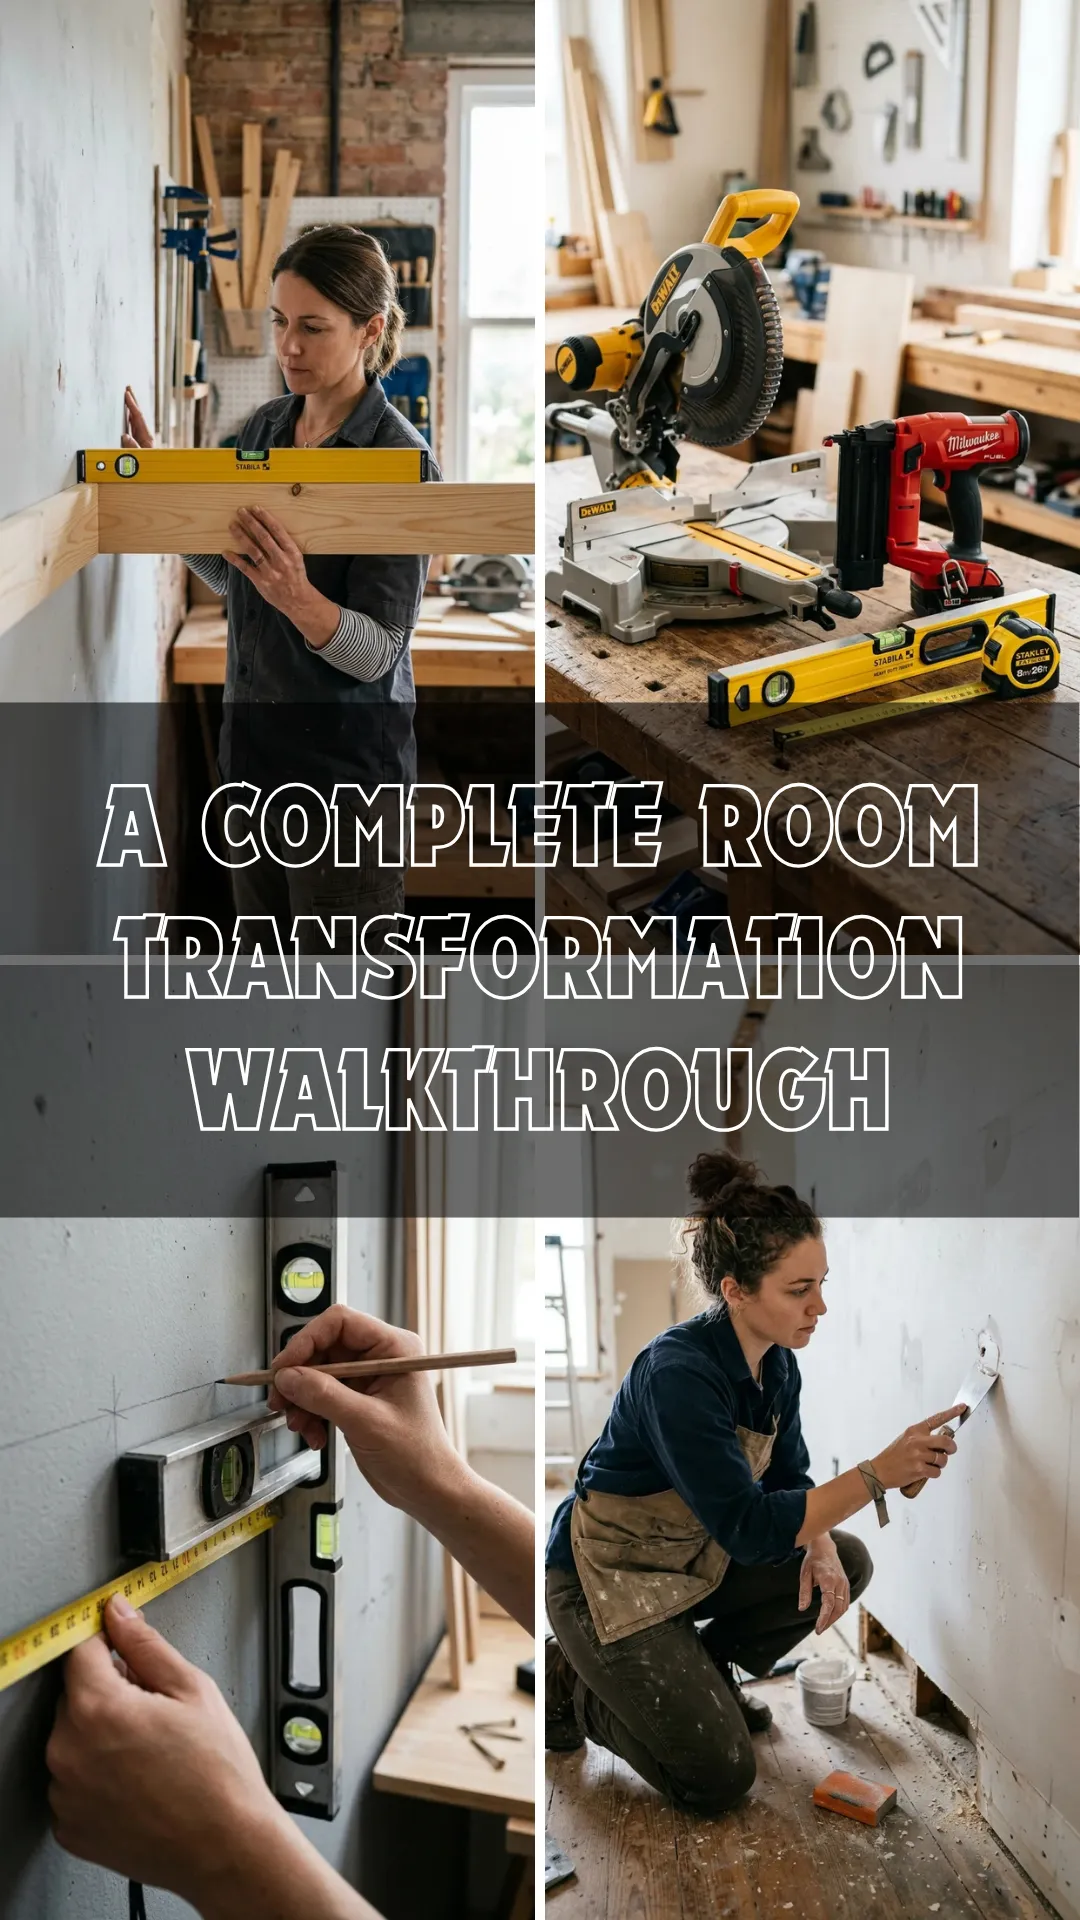
A Complete Room Transformation Walkthrough
There is perhaps no DIY project that offers more “bang for your buck” than board and batten. It is the ultimate architectural secret weapon, capable of turning a flat, uninspired room into a space with depth, character, and high-end craftsman appeal. Whether you are looking to elevate a nursery, add sophistication to a dining room, or give your entryway a durable and stylish face-lift, this guide will walk you through the entire process from the first measurement to the final coat of paint.
1. Essential Materials
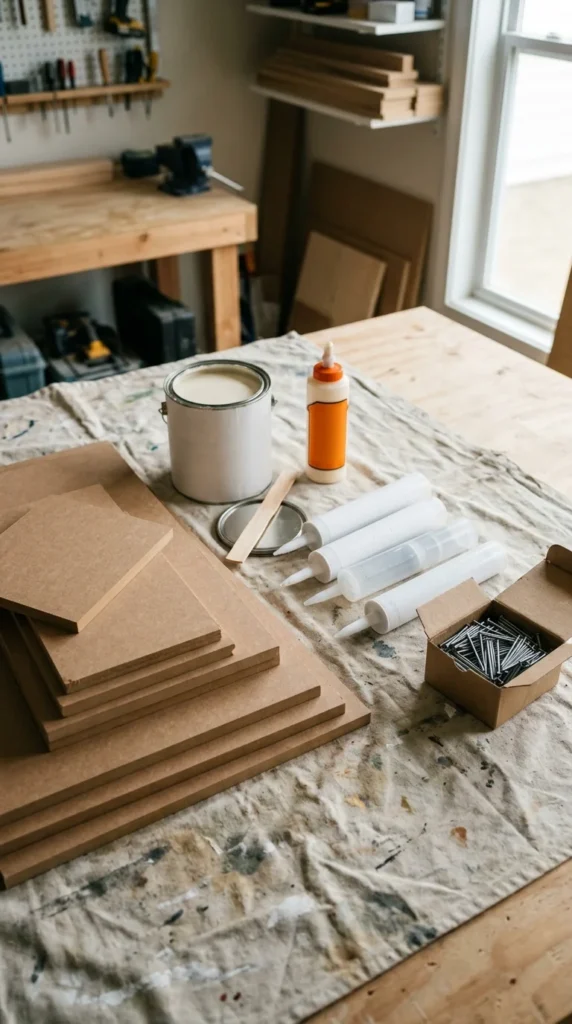
Before you make your first cut, you need to gather your supplies. For a standard board and batten project, MDF (Medium Density Fiberboard) is often the preferred choice because it is perfectly straight, smooth, and lacks the knots found in natural wood. You will need:
- MDF or Pine Boards: Usually 1x2s, 1x3s, or 1x4s depending on the desired thickness.
- Construction Adhesive: To ensure the boards stay flush against the wall.
- Wood Filler: To hide the nail holes.
- Paintable Caulk: To seal the gaps where the wood meets the wall.
- Primer and Paint: High-quality interior paint in your chosen finish.
2. Necessary Tools
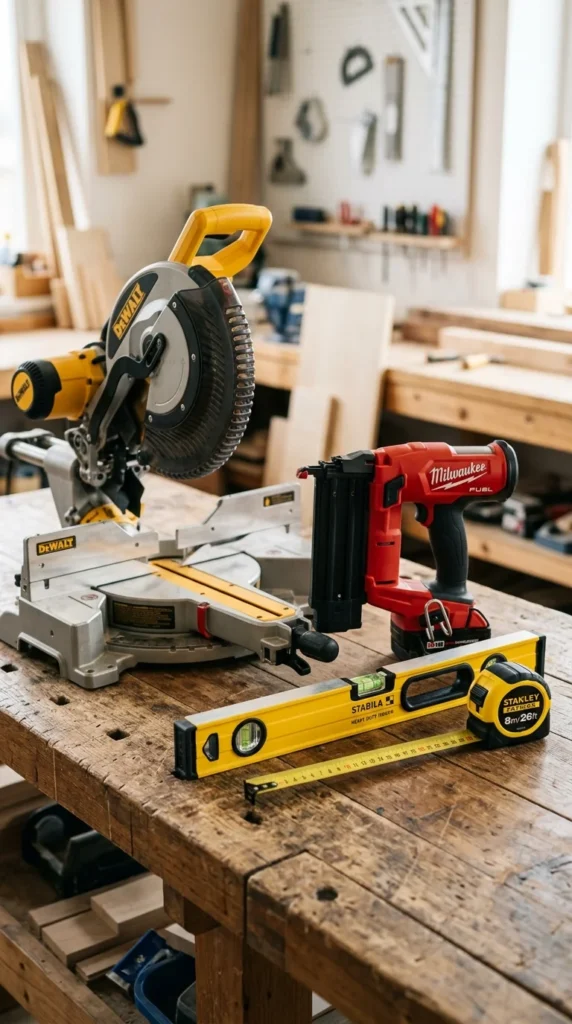
Having the right tools is the difference between a project that looks “homemade” and one that looks “professional.” You don’t need a full woodshop, but a few power tools are essential:
- Miter Saw: For clean, square cuts on your battens.
- Brad Nailer: A 16 or 18-gauge nailer is perfect for securing the boards.
- Level: A long 4-foot level is vital to ensure your horizontal rails aren’t crooked.
- Stud Finder: To find the strongest points for nailing.
- Measuring Tape: Accurate to the sixteenth of an inch.
3. Precise Measurement
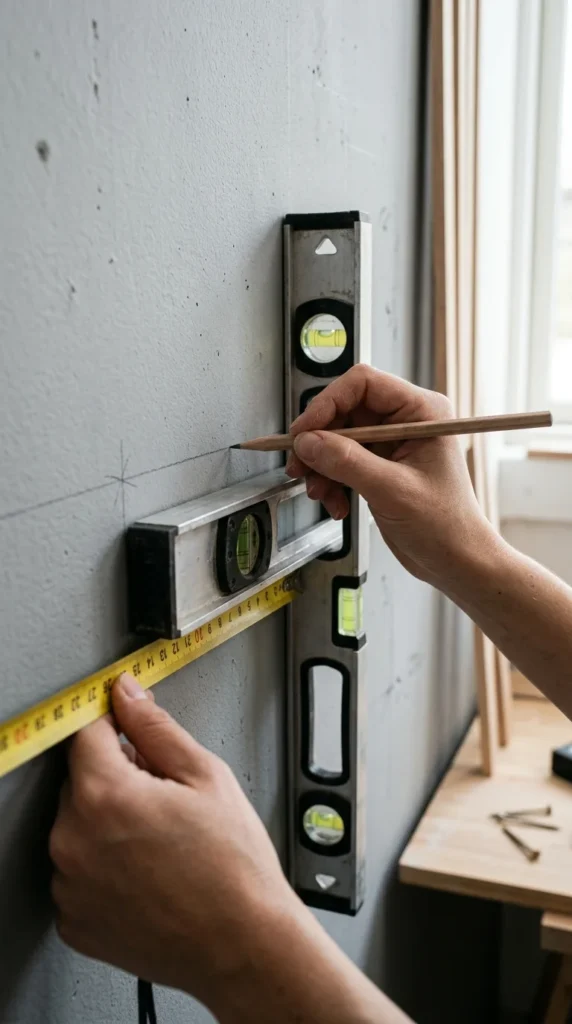
The most intimidating part of board and batten is the math. You want the spacing between your vertical “battens” to look intentional. To find the perfect spacing:
- Measure the total width of your wall.
- Decide how many vertical battens you want.
- Subtract the total width of all those battens from the total wall width.
- Divide that remaining number by the number of spaces between the battens.
This ensures every panel is identical in size, creating that satisfying symmetry that defines the style.
4. Wall Preparation
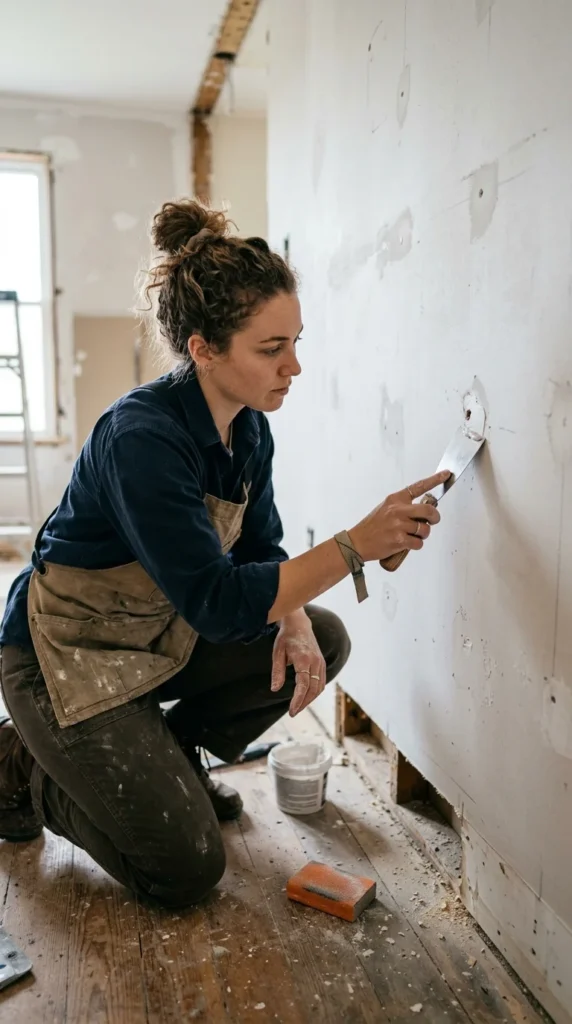
Don’t skip the prep. If your walls have a heavy “orange peel” or “knockdown” texture, you might want to install a thin sheet of hardboard or “smooth skin” before the battens to give it a truly authentic look. Otherwise, ensure the wall is clean and free of dust. If you are replacing your old baseboards with the bottom rail of your board and batten, remove them carefully with a crowbar to avoid damaging the drywall.
5. Horizontal Rails
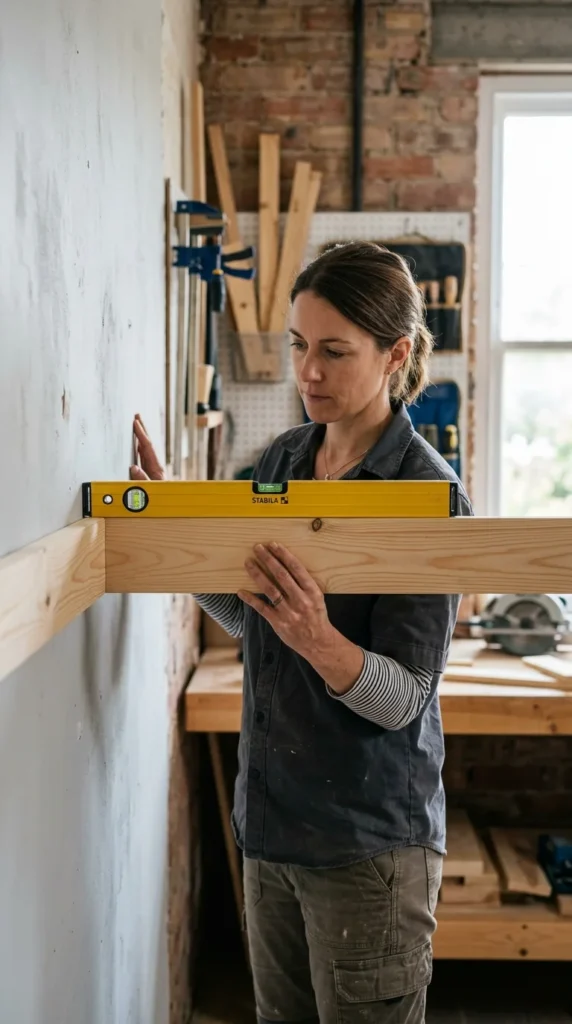
The horizontal rail sets the height for the entire project. Most DIYers choose a “waist-high” look (around 36-42 inches) or a “three-quarters” look (around 60-72 inches). Apply a bead of construction adhesive to the back of the board, place it against your level line, and nail it into the studs. This rail acts as the “anchor” for your vertical pieces.
6. Vertical Battens
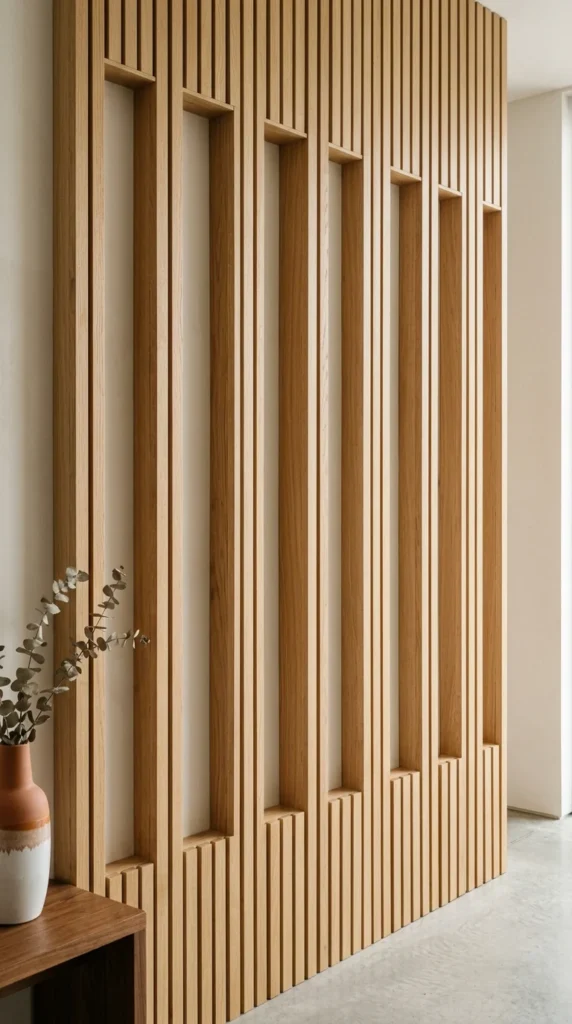
Now comes the fun part: seeing the pattern emerge. Using the measurements you calculated earlier, cut your vertical battens to fit snugly between your top rail and your baseboard.
- Pro Tip: Create a “spacer block.” Instead of measuring every single gap with a tape measure, cut a piece of scrap wood to the exact width of your gap. Place the block between the batten you just installed and the next one to ensure perfect spacing every time.
7. Finishing Ledge
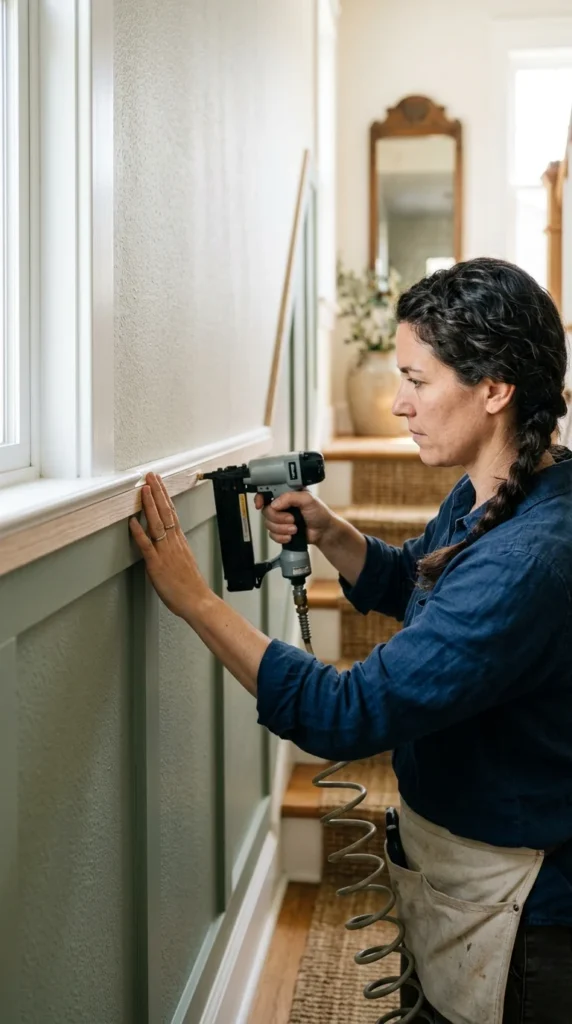
To give your project a custom, “built-in” look, add a decorative cap or ledge on top of your horizontal rail. A 1×2 board laid flat on top of the rail creates a small shelf that is perfect for leaning small pieces of art or photographs. This “Craftsman” detail adds a layer of sophistication that distinguishes a basic DIY project from high-end carpentry.
8. Caulk and Filler
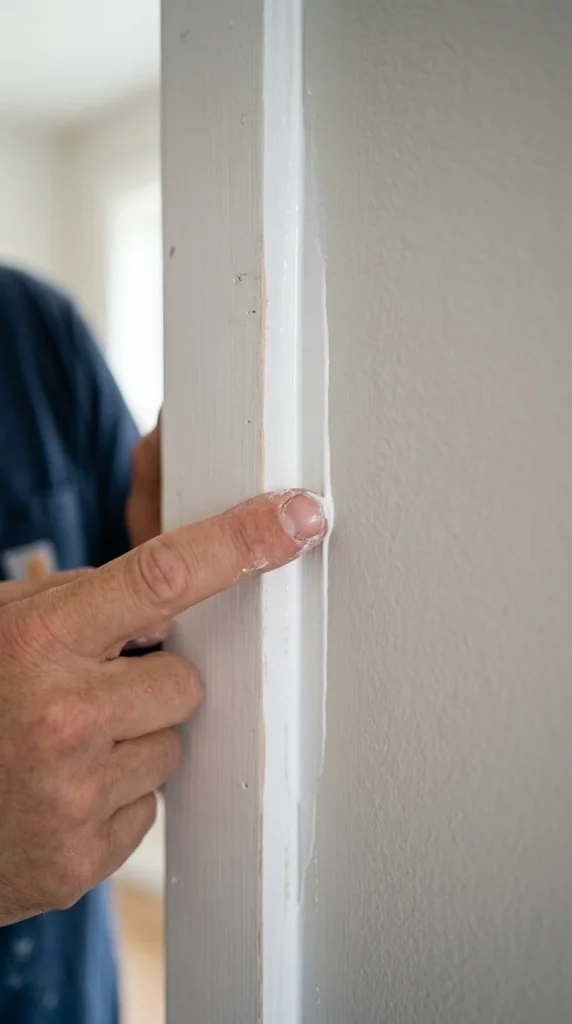
This is the “ugly phase” where the project looks messy, but it is the most important step for a professional finish. Use wood filler to fill every single nail hole—overfill them slightly because wood filler shrinks as it dries. Then, use paintable caulk to fill every seam where the wood meets the wall and where the boards meet each other. This eliminates dark shadows and gaps, making the wood look like it is part of the wall itself.
9. Smooth Sanding
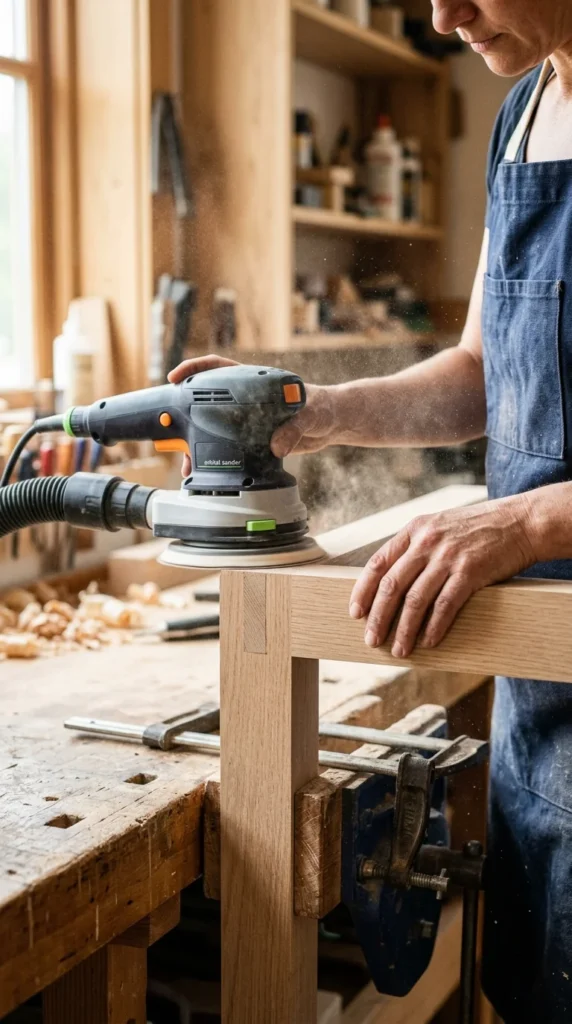
Once the wood filler is completely dry, sand it down until it is perfectly flush with the board. Use a fine-grit sandpaper (around 220 grit). Run your hand over the holes—if you can feel a bump, you’ll see a bump after painting. Wipe the entire wall down with a tack cloth or a damp microfiber towel to remove every trace of dust. If there is dust left on the boards, the paint will feel gritty and look dull.
10. Final Paint
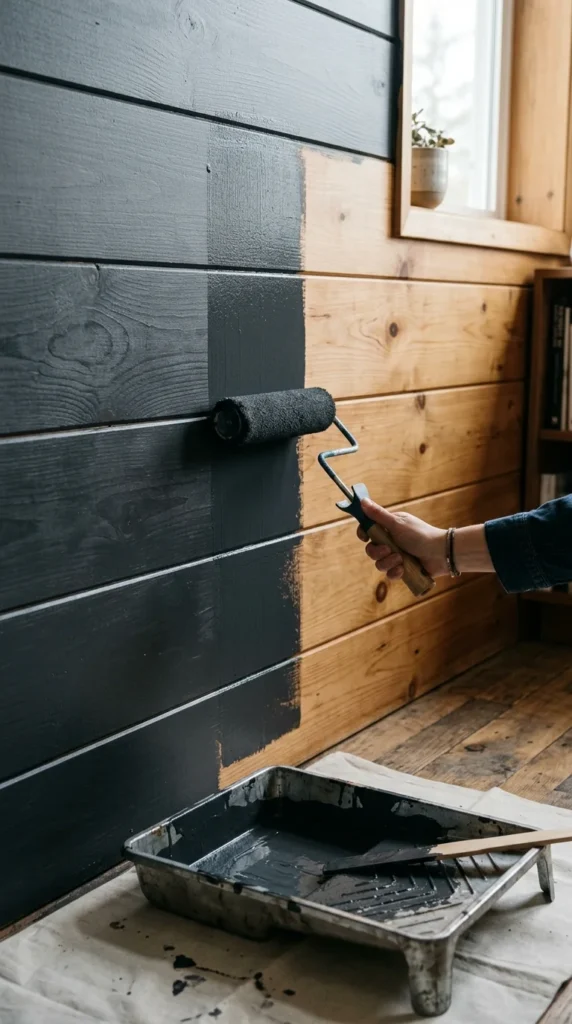
The final step is the most rewarding. Start by “cutting in” all the corners and seams with a high-quality brush, then use a small foam roller (for a smooth finish) to paint the flat surfaces of the boards and the wall sections in between.
- Color Choice: Bold, dark colors like navy, forest green, or charcoal grey create a moody, modern vibe. Classic white or light “greige” offers a timeless, farmhouse aesthetic.
- Sheen: A satin or semi-gloss finish is usually best for board and batten because it is easy to wipe clean and highlights the architectural shadows of the boards.
Once the second coat dries, step back and admire your work. You’ve successfully transformed a plain room into a custom space with permanent, high-value architectural detail.